Getting Started with Amazon Macie
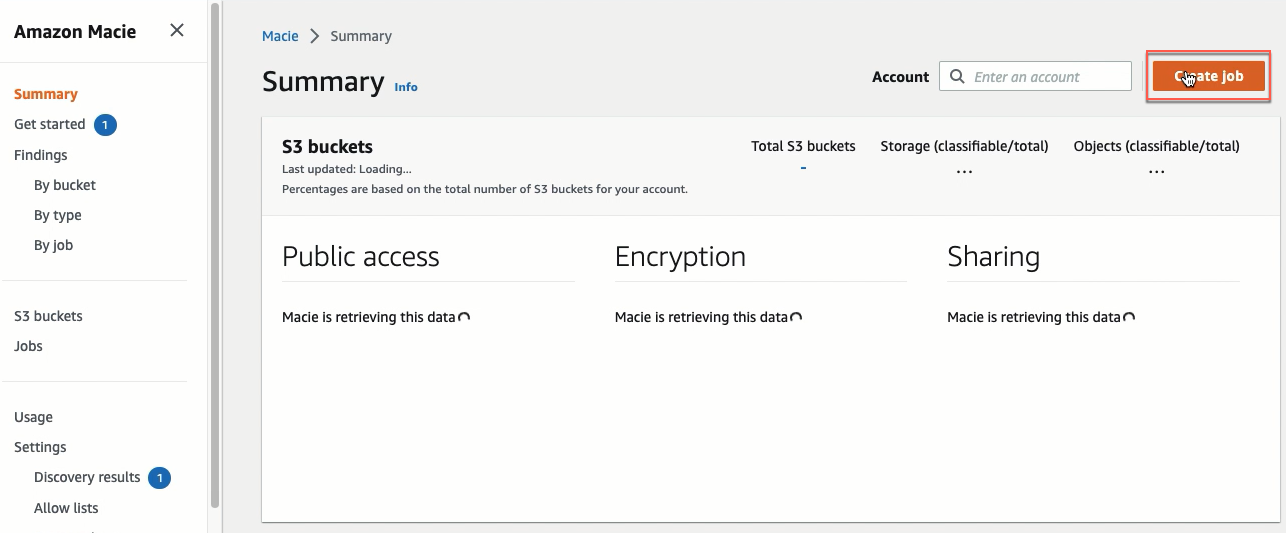
CREATE A MACIE JOB
-
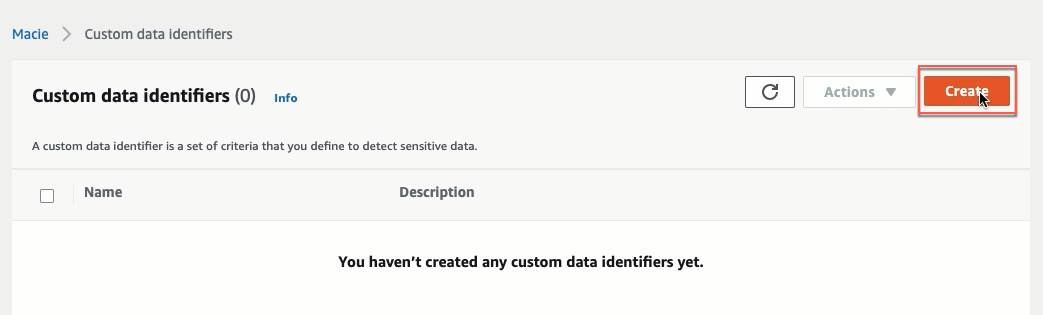
Click Create job button.
-
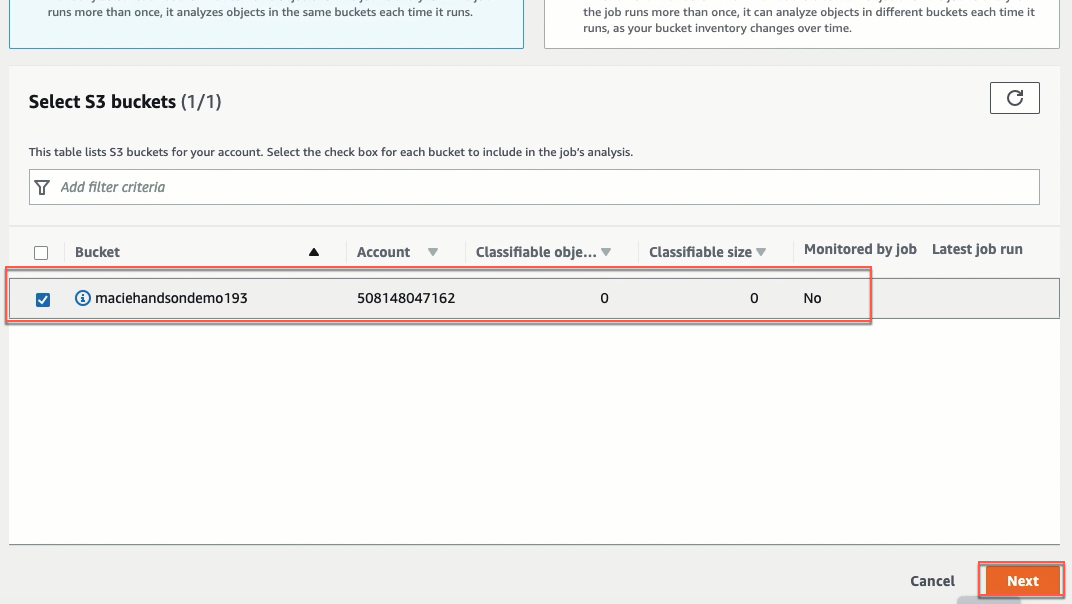
Select the S3 bucket named maciehandsondemo193, click Next.
-
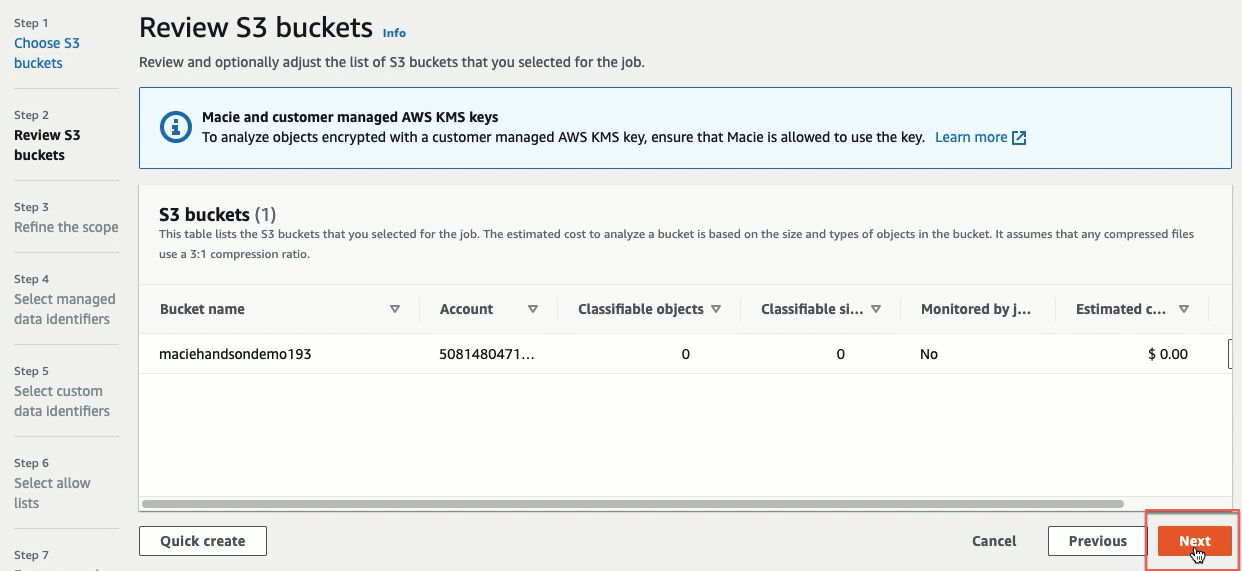
Click Next.
-
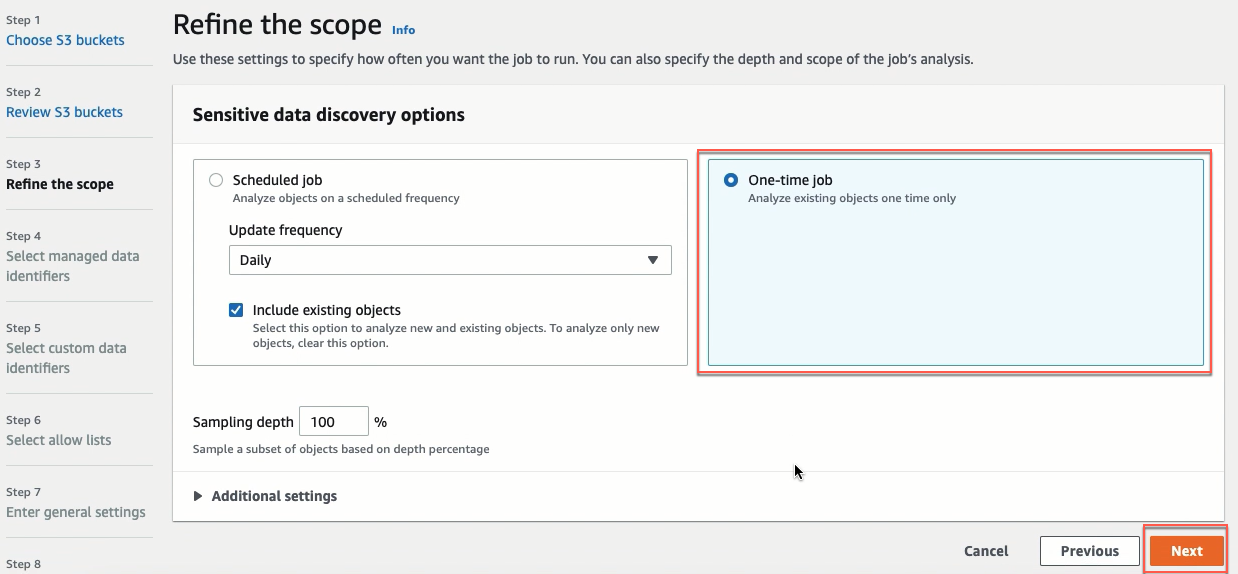
At this step (Refine the scope), there are two options. In this lab, you choose One-time job. But in your real life, maybe you will select Scheduled job.
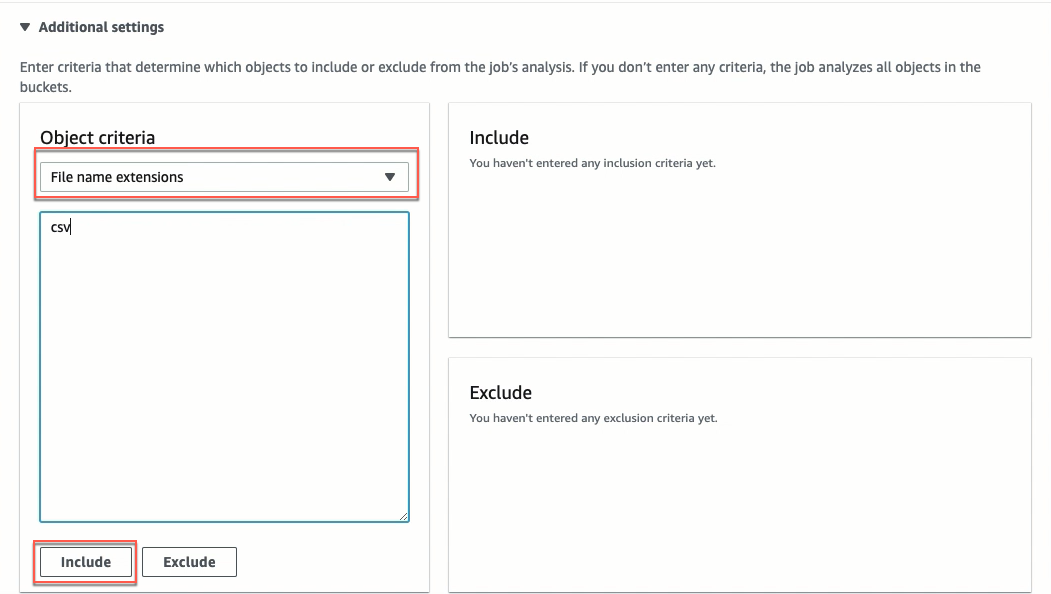
 Expand Additional settings:
- Choose File name extensions
- Type
csv - Then click the Include button
Scroll down and click Next.
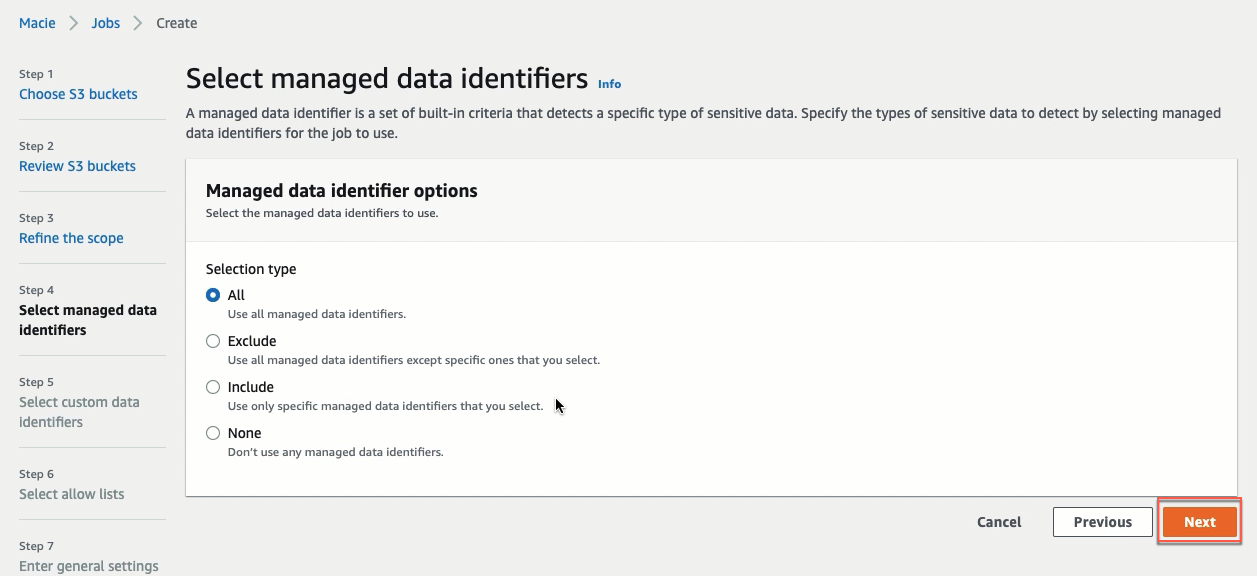
-
Click Next.
-
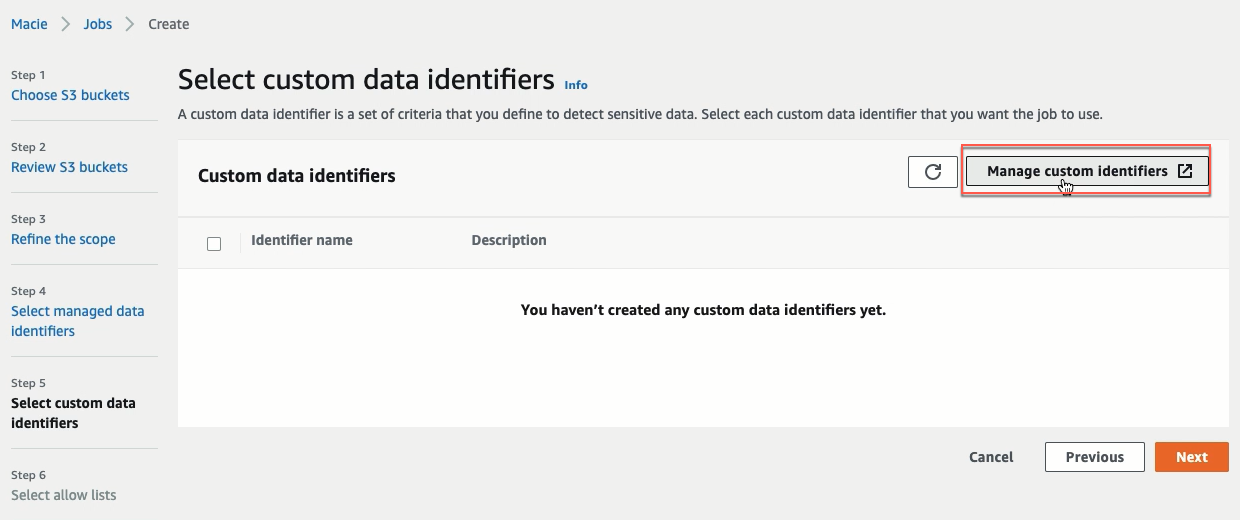
We have to create a custom identifier. Remember, the Employee ID is treated as PII information.
- Click Manage custom identifiers. Your browser will open new tab.
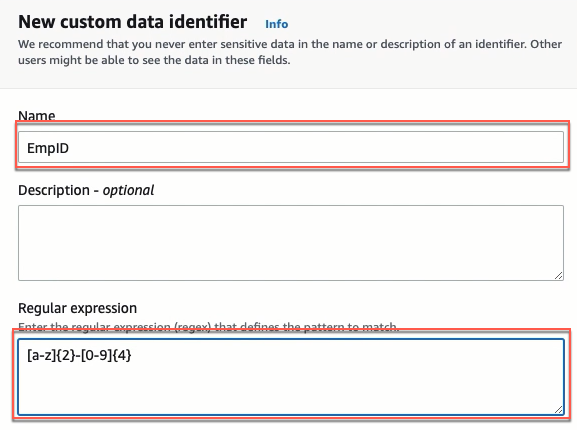
- At this new tab, click the Create button and input:
- Name:
EmpID - Regular expression:
[a-z]{2}-[0-9]{4}
- Name:
Then click Submit.
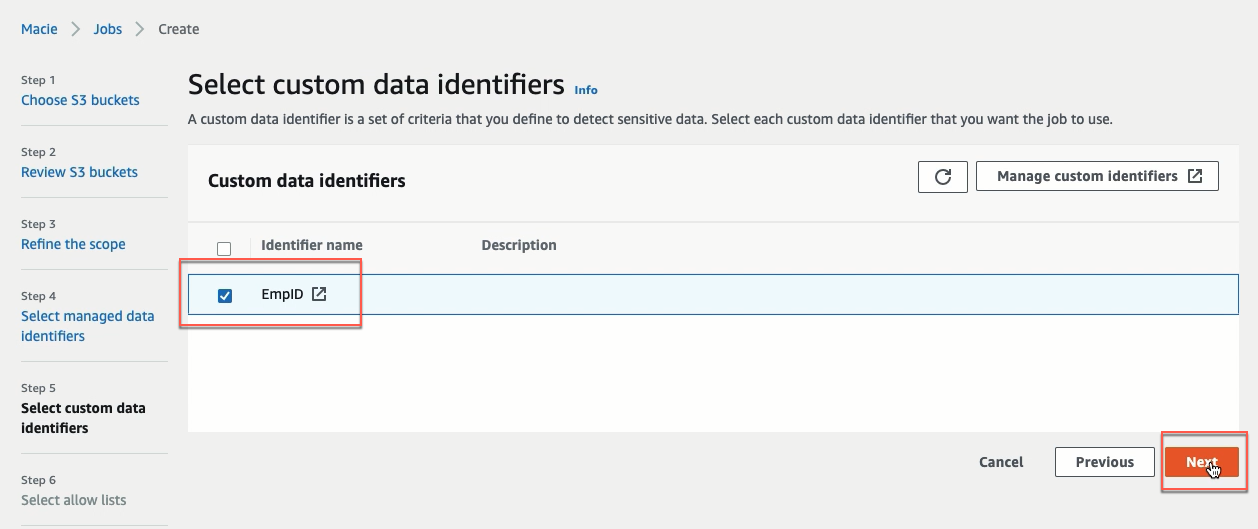
- Back to Macie’s console, select EmpID and click Next.
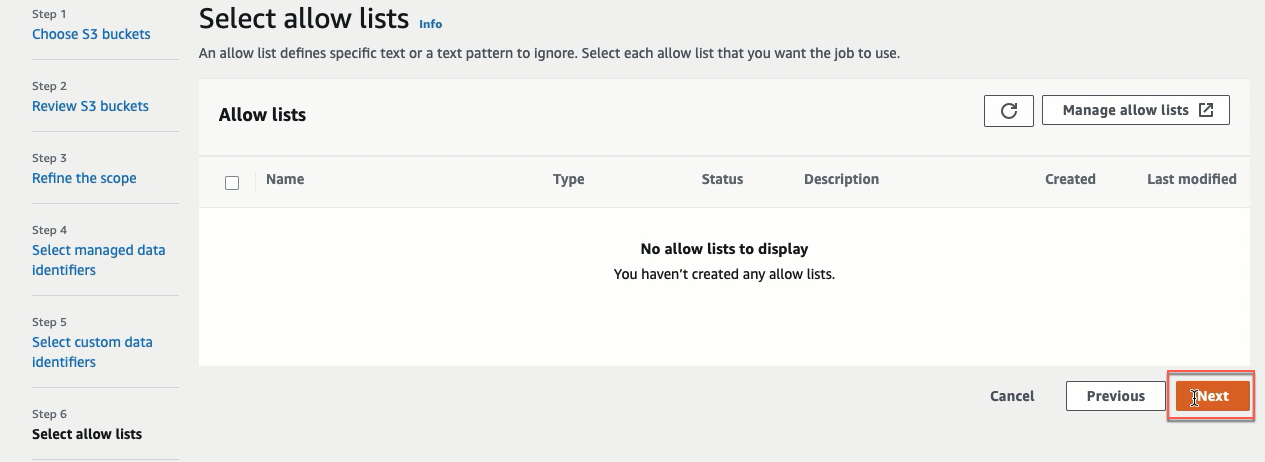
-
Click Next.
-
Name and description
- Job name:
EmpID - Then click Next.
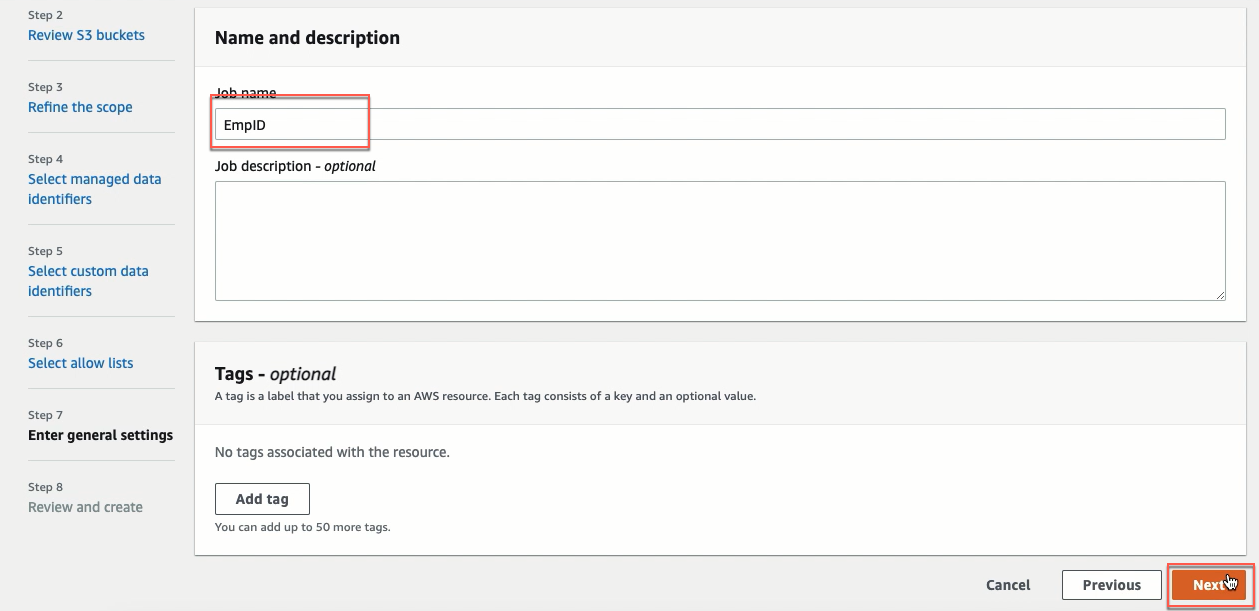
-
Click Submit.
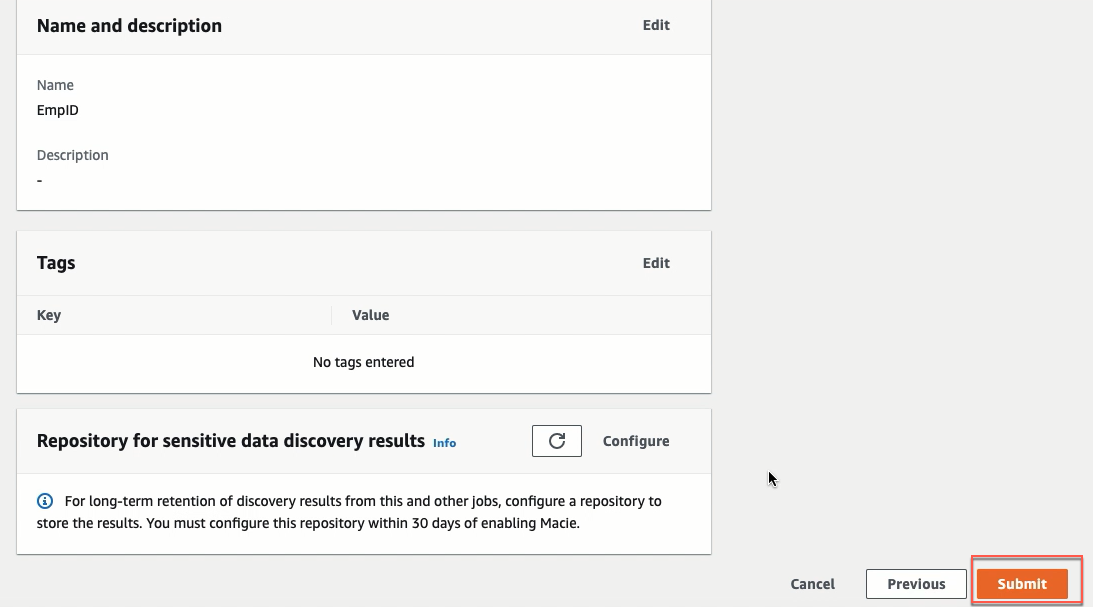
-
The EmpID Job will be running. Will take some time so run has started, takes about a few minutes (7-10 min).
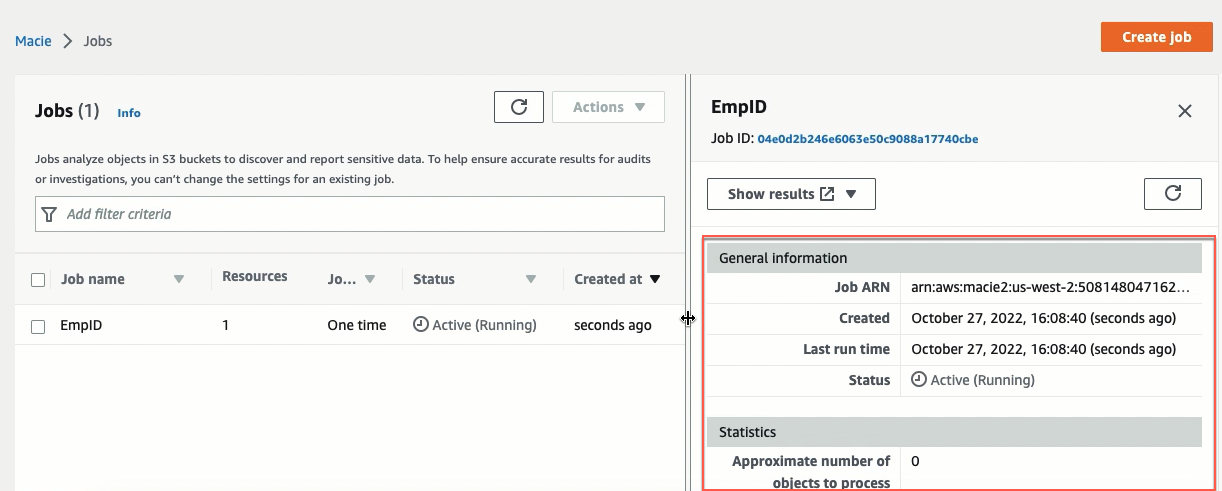
Our job has just compleled and it took about 10 min.
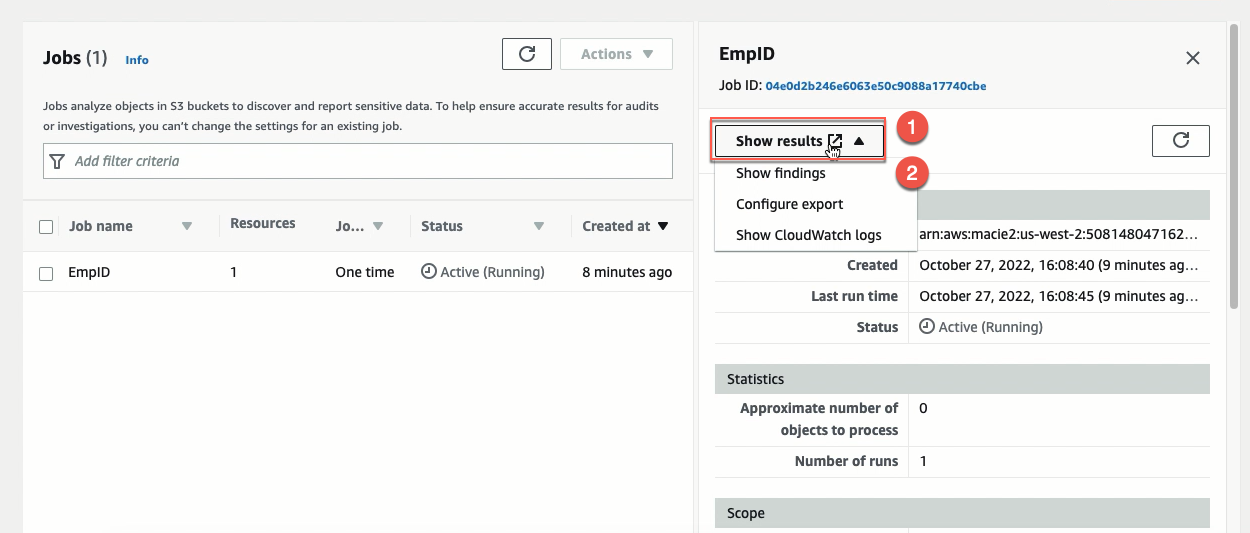
Ok now let us look at its findings.
Click on Show results and then click Show findings
Our browser will open a new tab.
In the new tab, select the result, click Export to JSON.
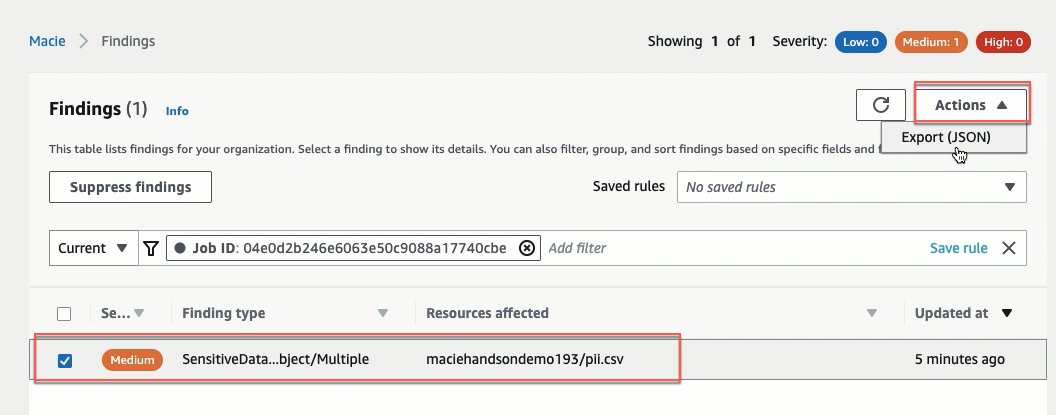
You will be able to see it right here. Click Download if you want.
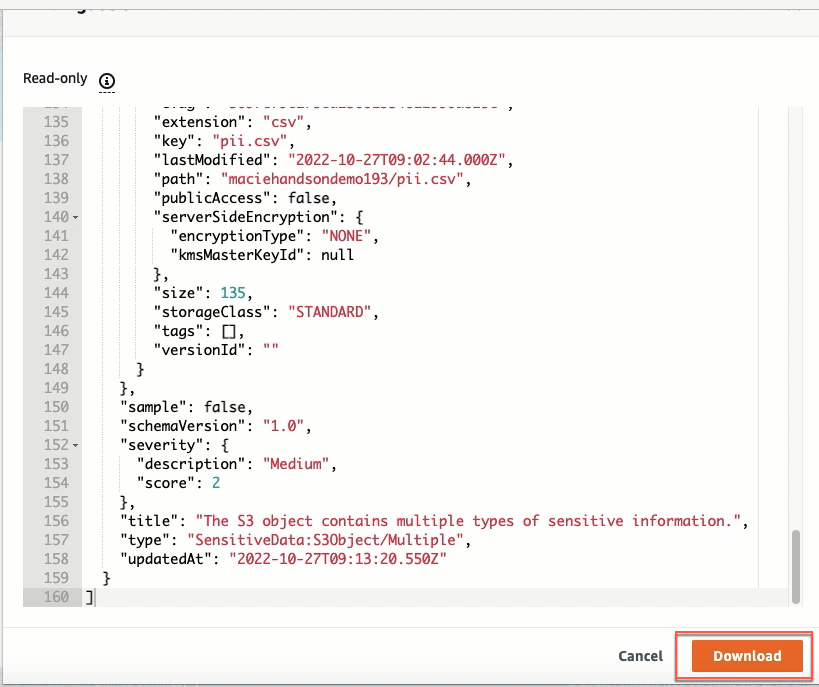
- After reviewing the findings, you can take appropriate action on the csv file data (pii.csv).
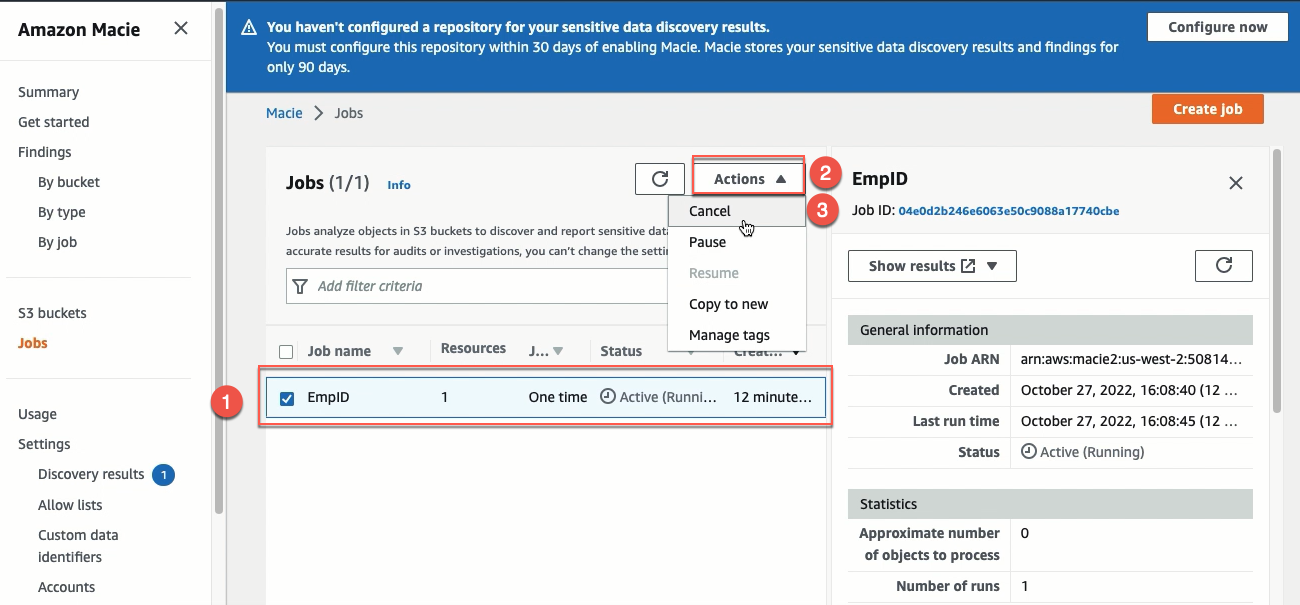
CANCEL MACIE JOB
You select the EmpID Job, click Actions and then click Cancel.